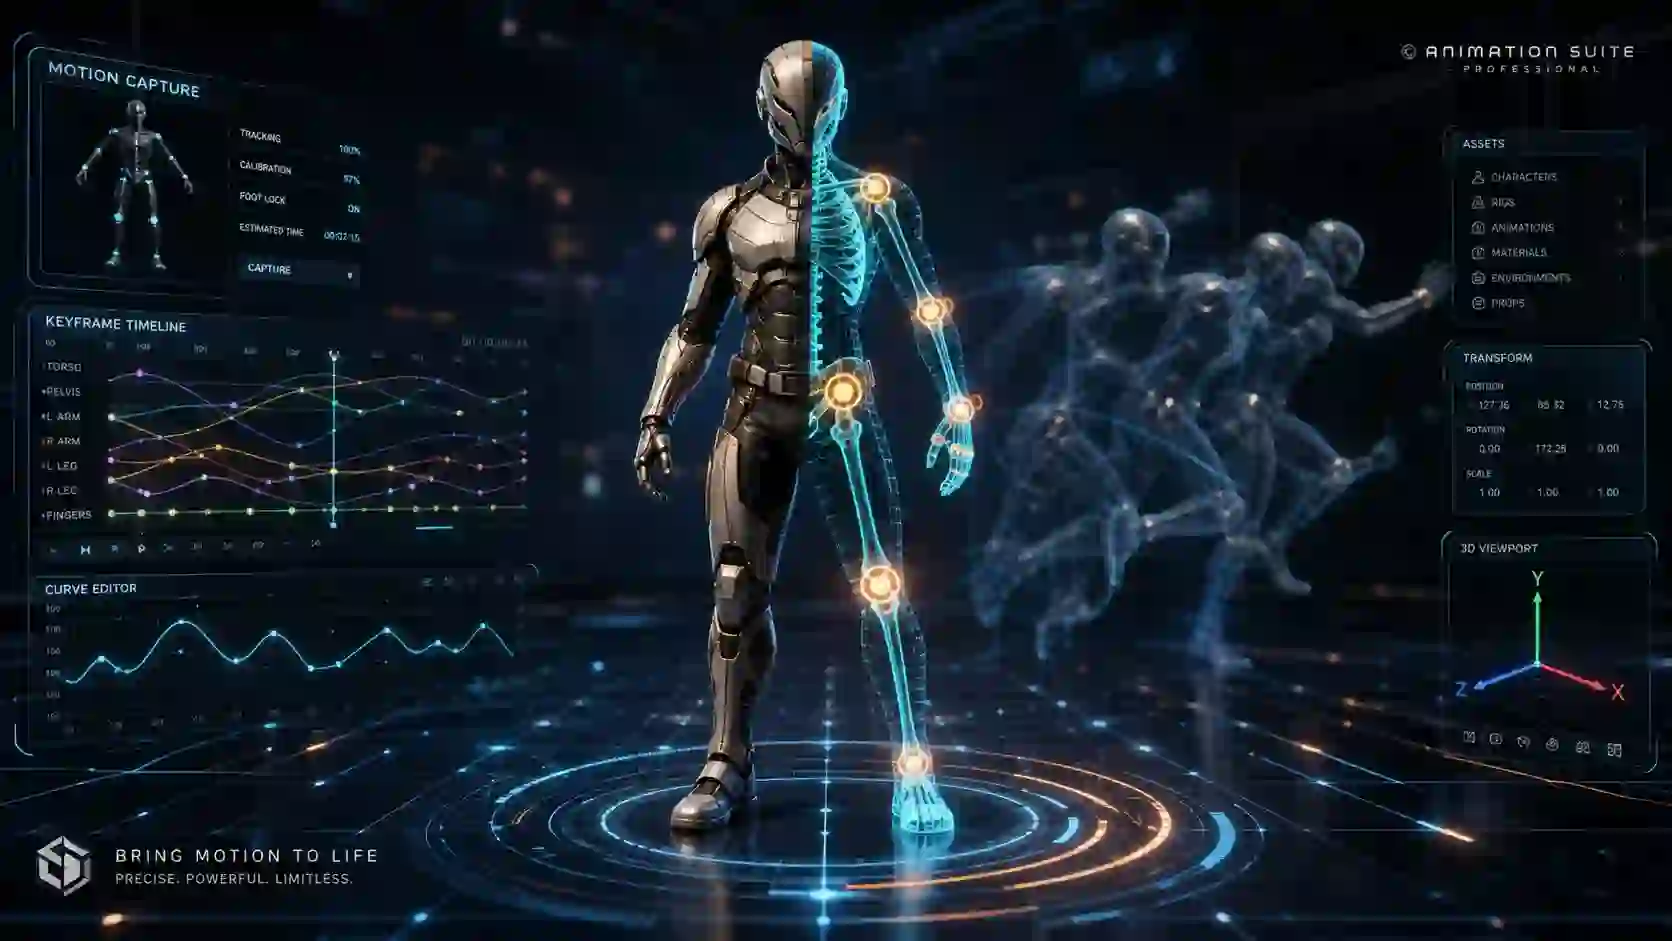
Building custom 3D skeletons and hand-keying character movement eats up weeks of production time. Without dedicated rigging skills, your sculpted meshes stay static, your game prototypes stall, and animation costs quickly explode. Mixamo solves this roadblock instantly. Adobe’s cloud-based platform generates clean skeletal rigs and applies thousands of motion-capture clips to your humanoid models within seconds, entirely free of charge.
What Is Mixamo and Who Created It?
Mixamo represents one of the most accessible web-based rigging and character animation services available to digital artists today. The platform takes static humanoid 3D meshes, automatically builds an articulated skeletal armature, calculates vertex weight skinning, and enables users to apply pre-recorded motion capture clips. By automating steps that historically required specialized technical animators, the service allows solo developers and small studios to produce fully animated characters at record speed.
Computer scientists Stefano Corazza and Nazim Kareemi co-founded the original company in 2008 as a spinoff from Stanford University’s biomotion research laboratories. The founders designed an intelligent algorithm capable of analyzing 3D mesh surface geometry and predicting joint pivot locations without manual bone placement. In 2015, Adobe acquired the technology and integrated it into the Creative Cloud ecosystem, maintaining free access for anyone with an Adobe ID, as detailed in the official Wikipedia documentation entry.
The software primarily targets independent game creators, previs artists, architectural visualizers, and digital filmmakers who require rapid humanoid animation. Instead of spending days drawing bone chains, orienting joint axes, and painting vertex skin weights in software like Autodesk Maya or Blender, creators upload an unrigged character mesh and receive a functional, textured FBX asset within minutes. Over two decades of motion capture data power the underlying service, making character animation accessible across the digital entertainment industry.
How Does the Cloud Auto-Rigging Engine Work?
The core technology behind the platform uses volumetric surface analysis and heuristic anatomical mapping. When you upload a humanoid 3D model, the cloud processor analyzes the outer silhouette and topology of your geometry. The algorithm projects interior predictive ray-casts to determine the center of mass, limb volume, and joint articulation planes based on five key anatomical reference points.
Users place virtual guide markers on the character’s chin, wrists, elbows, knees, and groin. Once you confirm marker placement, the automatic rigging solver calculates internal joint positions and builds a standardized bipedal hierarchy matching the model’s exact proportions. The system then executes automated skinning, applying bone heat weighting algorithms to assign mesh vertices to their nearest corresponding bone segments.
The resulting armature contains a standard humanoid hierarchy compatible with contemporary game engine animation retargeters. The primary skeleton includes a hips root, a multi-joint spine chain, collarbones, upper and lower limbs, and foot controls with ball-of-foot articulations. You can also select hand bone complexity, choosing between a full five-finger articulation set of 65 total bones, a simplified two-finger layout, or a fingerless punch-glove skeleton for background non-player characters.
Supported 3D File Formats, Mesh Requirements, and T-Pose Standards
Preparing your character correctly before uploading prevents mesh deformations, missing textures, and auto-rigging failures. The platform accepts three primary container formats: Filmbox (.FBX), Wavefront (.OBJ), and compressed (.ZIP) packages containing an OBJ mesh with associated PNG or JPG image textures. For best results, export your model as a clean binary FBX file with embedded materials, because binary files package vertex normal data and UV maps reliably.
Your 3D mesh must follow strict structural rules to ensure proper skeletal generation. Adhering to these modeling constraints guarantees that the cloud rigging engine identifies limb geometry without clipping.
- Maintain symmetrical, bipedal humanoid anatomy with two distinct arms, two legs, a torso, and a head.
- Ensure your mesh geometry contains manifold surfaces with zero non-manifold edges, non-planar holes, or internal stray floating faces.
- Combine disconnected sub-meshes such as armor plates, eyes, and clothing layers into a single consolidated mesh hierarchy where possible.
- Avoid extreme polygon densities; keep your character model between 10,000 and 100,000 triangles for optimal cloud calculation speed.
- Orient your model facing positive Z-axis forward or positive Y-axis forward according to your source modeling application standards.
Your model’s initial stance dictates how cleanly the weighting algorithm binds vertices under the arms and between the legs. The classic T-Pose—where the character stands straight with arms extended horizontally parallel to the floor and palms facing downward—yields the cleanest armpit and shoulder deformations. While an A-Pose with arms lowered at a 45-degree angle works, it occasionally blends shoulder weights into the ribcage geometry. Always zero out object transformations, freeze scale coordinates at 1.0, and apply all modifiers before uploading your source asset.
Step-by-Step Guide: How to Upload and Auto-Rig a Custom 3D Character
Rigging a custom humanoid character through the browser interface takes less than two minutes from upload to finished download. The intuitive web interface eliminates complicated setup menus, giving creators an interactive 3D viewport directly inside Chrome, Firefox, Safari, or Edge. Follow this step-by-step workflow to auto-rig your custom 3D model:
- Access the Portal and Sign In: Open your web browser and navigate to the official Adobe animation portal. Click the log-in button and sign in using your free Adobe ID account credentials.
- Upload Your Character Mesh: Click the blue Upload Character button on the right side of the main workspace interface. Drag your FBX file, OBJ file, or zipped texture archive directly into the upload dialogue box and wait for the geometry processing bar to finish.
- Orient the Character: Review the 3D model orientation in the initial alignment window. If your character appears rotated sideways or upside down, use the circular rotation arrows at the bottom of the viewport to orient the model facing directly toward the camera.
- Place Anatomical Guide Markers: Drag the colored landmark circles onto your model’s visible anatomy in the interactive 2D orthographic placement window. Place the chin marker at the base of the lower jaw, wrist markers on the narrowest bend of each wrist, elbow markers on the posterior hinge point of each arm, knee markers across the patella centers, and the groin marker directly at the pelvic base.
- Select Skeleton Complexity: Use the Skeleton LOD dropdown menu to determine the finger fidelity required for your project. Choose 65 bones for heroes and first-person models, or drop down to 22 bones for background characters who never grasp weapons or show individual finger flexing.
- Execute Auto-Rigging: Click the Next button and allow the cloud calculation engine between thirty and ninety seconds to build the skeleton and calculate vertex skin weights.
- Inspect the Interactive Preview: Examine your rigged character performing an animated inspection sequence in the 3D preview window. Orbit the camera completely around the mesh to verify that the knees bend forward, the elbows articulate cleanly, and the torso twists without collapsing the chest wall.
If you observe geometry stretching or limbs warping unnaturally, click the back arrow to adjust marker positions. Once satisfied with the articulation quality, click Next to finalize the character, replacing the active viewport avatar with your custom model.
Exploring the Motion Library: Searching, Customizing, and Previewing Clips
The motion capture repository contains over 2,500 distinct, production-ready performance clips recorded by professional stunt actors and dancers. The collection spans essential movement categories including combat katas, casual locomotion, athletic sports, idle conversations, emotional expressions, and death sequences. You can search the library using specific action keywords or browse curated thematic packs like Zombie Survival, Magic Spellcasting, or Tactical Shooter locomotion.
Selecting any animation clip instantly applies that motion capture data to your active character in real time. The web application provides powerful interactive parameter sliders on the right-hand inspection panel to tailor the performance to your exact requirements:
- Overdrive: Modifies the playback speed of the motion capture actor, accelerating or decelerating movement cadence without altering keyframe integrity.
- Character Arm-Space: Adjusts the lateral distance between the character’s arms and torso, preventing heavy armor or bulky clothing meshes from clipping through the chest.
- Trim: Sets custom start and end cut points using interactive frame markers, trimming extraneous lead-in motions or isolating specific hit frames.
- Stance: Shifts the center of gravity and postural tilt, allowing you to make your character crouch aggressively or stand upright with formal military posture.
- In Place: Strips world-space horizontal displacement vectors from running and walking cycles, keeping the character grounded at coordinate zero for game engine locomotion blend trees.
The In Place toggle serves a vital role for interactive game development. When checked, the animation loops perfectly on a stationary spot, allowing your game engine’s character movement component to drive physical translation across the terrain. When unchecked, the animation retains its full motion capture displacement vectors, which works best for cinematic cutscenes and linear video rendering.
Export Settings Explained: FBX vs Collada, Skinning Options, and Frame Rates
Exporting your rigged character and motion clips with the correct settings ensures seamless compatibility with your downstream pipeline. When you click the download button, a modal dialogue presents several configuration options that directly impact file size, bone hierarchies, and playback fidelity. Understanding these technical parameters prevents redundant re-downloads and texture export mismatches.
The export dialogue provides three primary file format containers: FBX (.fbx), FBX for Unity (.fbx), and Collada (.dae). The standard FBX format exports a clean Autodesk FBX interchange file tailored for Blender, Maya, 3ds Max, and Unreal Engine. The FBX for Unity preset specifically reorganizes bone axis orientations to prevent the negative 90-degree X-axis rotation offset that historically plagued Unity imports. The Collada format provides an open-standard XML-based alternative for open-source graphics software and legacy rendering pipelines.
The skinning parameter offers two choices: With Skin and Without Skin. Selecting With Skin exports your character mesh, material assignments, and vertex weights bound to the skeleton, which you must use when downloading your initial base character model. For subsequent animation downloads, select Without Skin to export lightweight skeletal keyframe tracks without duplicating your heavy 3D mesh geometry. This practice reduces download sizes from fifty megabytes down to a few hundred kilobytes per animation clip.
Finally, choose your frame rate and keyframe reduction settings based on project requirements. Select 30 FPS for standard mobile and indie game titles, 60 FPS for high-fidelity combat and competitive action games, or 24 FPS for cinematic short films. Set keyframe reduction to None to preserve authentic optical motion capture nuances, or select Uniform reduction if you need to optimize memory overhead on mobile hardware.
Importing Mixamo Assets into Blender: Retargeting, Weight Fixes, and Add-ons
Blender provides an exceptional open-source environment for refining automated rigs, adjusting vertex weights, and assembling complex character animations. When you import a downloaded FBX into Blender via File > Import > FBX, the mesh and skeletal armature appear in your 3D viewport. Sometimes materials appear completely transparent or untextured upon import, which occurs because Blender’s Principled BSDF shader defaults to an incorrect alpha blend mode.
To resolve material display bugs in Blender’s viewport, open the Material Properties tab in the right-hand panel. Locate the Settings sub-panel and change the Blend Mode from Alpha Blend to Opaque or Alpha Clip. Connect the texture node’s color output directly to the Principled BSDF Base Color input, and connect the alpha channel strictly if your texture contains transparency. This simple adjustment immediately restores your character’s diffuse textures, clothing patterns, and facial details.
Adobe provides an official free Blender add-on that transforms raw imported armatures into production-grade animation rigs. The add-on generates interactive inverse kinematics (IK) foot and hand controls, visual pole vector targets, and knee bend constraints over the standard FK bone hierarchy. With this control rig active, artists can keyframe new motions, edit existing motion capture trajectories, and pin character feet firmly to the floor to eliminate foot sliding.
If your character exhibits minor mesh pinching around the underarms during extreme poses, switch into Blender’s Weight Paint mode. Select the problematic bone, choose a soft blur brush with low strength, and smooth the weight boundary transitions across the surrounding vertices. This manual polish eliminates angular creasing while preserving the immense time savings gained from automated rigging.
Integrating Mixamo Animations into Game Engines: Unity and Unreal Engine Workflows
Modern real-time game engines consume automated humanoid rigs with remarkable flexibility. Both Unity and Unreal Engine include specialized skeletal retargeting systems that translate standard bone rotations onto custom player characters. Setting up these pipelines properly unlocks thousands of high-quality locomotion, combat, and interaction sequences for your gameplay mechanics.
In Unity, drag your exported FBX files into your project Asset folder. Select the character model in the Project view, open the Inspector panel, and navigate to the Rig tab. Change the Animation Type dropdown from Generic to Humanoid, and click Apply to activate Unity’s Mecanim avatar definition system. Unity automatically maps the armature’s hips, spine, limbs, and fingers into standardized muscle channels, allowing you to share animations across diverse character proportions effortlessly.
For Unreal Engine 5, import your base character as a Skeletal Mesh with an automatically generated skeleton asset. You can retarget animations to the standard UE5 Mannequin (Manny or Quinn) using Unreal’s IK Rig and IK Retargeter systems, as outlined in the Unreal Engine animation documentation. Create an IK Rig asset for your imported character, assign solver chains for the spine, head, and limbs, and connect it to the standard Epic retargeter to drive next-generation characters with zero manual keyframing.
Root motion handling requires careful attention inside both engines. If you exported an animation with world-space movement, enable Root Motion in Unity’s Animator state machine or check EnableRootMotion inside the Unreal Engine Animation Sequence editor. The engine will then transfer the character’s forward hip velocity directly into the physical Character Controller capsule, guaranteeing that your character moves across the digital world without skating or hitching.
Mixamo vs Competitors: AccuRig, Cascadeur, Rokoko, and ActorCore Compared
The character rigging and motion capture ecosystem has evolved substantially with the emergence of artificial intelligence tools and desktop rigging suites. While Adobe’s service remains the benchmark for fast web-based rigging, several contemporary alternatives provide specialized functionality for complex production environments. Evaluating each platform’s distinct strengths helps developers choose the optimal toolset for their specific project demands.
Reallusion’s AccuRig offers a standalone desktop application focusing on extreme precision for hand and finger articulation. AccuRig allows artists to manually adjust five-point finger joints and thumb rotation planes, which provides superior results for characters wearing bulky gloves or possessing exaggerated stylized hands. Cascadeur approaches character animation from a physics-driven perspective, offering artificial intelligence auto-posing and physical center-of-mass trajectory solvers for acrobatics and combat.
ActorCore by Reallusion delivers a massive commercial motion library optimized for AAA crowd systems and game avatars, though it requires paid credit packs for premium animation assets. Meanwhile, Rokoko specializes in optical and video-based motion capture, allowing developers to generate original mocap directly from smartphone video footage rather than relying solely on pre-existing libraries. The following comparison table outlines the core capabilities, costs, and primary use cases across these leading solutions:
| Feature / Platform | Mixamo | AccuRig (Reallusion) | Cascadeur (Nekki) | ActorCore | Rokoko Vision |
|---|---|---|---|---|---|
| Pricing Model | 100% Free with Adobe ID | Free Standalone Tool | Free Tier / Paid Pro ($300/yr) | Paid Per Asset / Credit Bundles | Free Tier / Paid Subscriptions |
| Platform Environment | Web Browser Cloud-Based | Windows Desktop Software | Windows & Linux Desktop | Web Browser Asset Marketplace | Web & Desktop Software |
| Auto-Rigging Speed | 30 to 60 Seconds | 1 to 2 Minutes | Semi-Manual Setup | Pre-Rigged Characters Only | Video Extraction in Minutes |
| Finger Rigging Control | Basic Presets (0, 2, 5 Fingers) | Detailed Multi-Joint Placement | Full Physics & Joint Control | Standardized AAA Finger Sets | Dual-Camera Optical Tracking |
| Animation Library Size | 2,500+ Free MoCap Clips | None (Rigging Tool Only) | Pre-built Poses & Physics MoCap | 10,000+ Premium MoCap Moves | Custom User Capture Pipeline |
| Physics-Based Posing | Not Available | Not Available | AI AutoPosing & Secondary Motion | Not Available | Post-Processing Stabilization |
| Commercial License | Free for Games & Films | Free Commercial Exports | Requires Pro for Studio Income | Commercial License Per Asset | Commercial Tiers Available |
| Best Production Role | Rapid Prototyping & Indie Games | Detailed Character Skinning | Realistic Dynamic Action Choreography | High-Fidelity AAA Crowds | Custom Original Performance Capture |
While competitors provide granular control over physics and finger weighting, Adobe’s cloud solution remains unmatched in convenience and cost efficiency. For indie game developers, game jam participants, and visual artists needing immediate results without software installation, the zero-cost entry point delivers unmatched creative velocity.
Common Mixamo Errors and Troubleshooting Fixes
Working with automated cloud rigging occasionally introduces geometry distortion, weighting anomalies, or upload rejections. Understanding how the underlying algorithm parses geometry allows you to diagnose and resolve these issues rapidly. Most technical errors stem from non-standard mesh construction or misplaced anatomical reference markers.
One of the most frequent errors is the dreaded “Unable to map skeleton” upload failure notification. This problem occurs when your 3D mesh contains non-manifold geometry, inverted surface normal faces, or extreme non-humanoid proportions that break the volumetric analysis solver. To fix this error, open your model in Blender or Maya, run a mesh cleanup operation to remove interior faces, verify that all surface normals point outward, and export your asset again.
Another common visual glitch involves collapsed or twisted fingers, often described as finger spaghettification. This artifact appears when the character’s hand geometry rests too close to the body or when fingers are modeled touching one another in a fist or closed grip. Always model character hands flat with fingers spread wide in a relaxed paddle position, leaving clear negative air space between each digit.
If your character experiences asymmetrical weighting—where the left arm moves cleanly but the right arm pulls vertices from the torso—your model’s origin point is likely offset. Ensure your character’s center of mass aligns perfectly with world coordinate (0, 0, 0) and that both halves of your humanoid mesh mirror symmetrically across the X-axis. Re-centering the pivot point and applying all location transforms in your modeling software resolves this asymmetry instantly.
Licensing, Commercial Usage Rights, and Pricing Model
Understanding intellectual property and asset licensing terms is critical before integrating third-party animations into commercial products. Adobe provides access to its rigging engine and motion library free of charge to any user holding an active Adobe ID. You do not require a paid Creative Cloud subscription to rig characters, preview performances, or download high-resolution FBX animation files.
The licensing agreement grants royalty-free commercial usage rights across interactive and digital entertainment media. You can legally incorporate rigged characters and motion clips into commercial video games, mobile applications, broadcast television commercials, architectural walkthroughs, and feature films. You do not owe Adobe ongoing royalties, seat licensing fees, or revenue share percentages on earnings generated from games built using these animation assets.
However, the license imposes one crucial restriction regarding raw asset redistribution. You cannot resell, repackage, or distribute raw animation files, skeletal armatures, or original character assets as standalone digital stock items on marketplaces like the Unity Asset Store, Unreal Engine Fab, Turbosquid, or Sketchfab. The motion capture data and character rigs must remain embedded within compiled, interactive, or rendered end-products rather than being offered as extractable development resources.
Search Clarifications: Resolving Common Maximo and Mixoko Misspellings
Search engines frequently encounter confusing queries from artists seeking 3D animation tools under misspelled brand names. A widespread query variation involves searches for maximo, which frequently leads users toward IBM Maximo enterprise asset management software instead of character animation tools. IBM Maximo manages industrial equipment maintenance and facility lifecycles, bearing zero connection to 3D character rigging or creative motion capture workflows.
Another recurring phonetic misspelling in search communities is mixoko, where creators inadvertently blend the names Mixamo and Rokoko together. Rokoko produces physical smartsuits, motion capture gloves, and AI video tracking software, whereas Adobe’s cloud platform focuses purely on browser-based automatic rigging and pre-recorded motion libraries. Clarifying these search distinctions ensures creators locate the appropriate character rigging documentation and software downloads without navigating irrelevant enterprise software portals.
Frequently Asked Questions About Mixamo
Is Mixamo completely free for commercial game development?
Yes, the service is 100% free for commercial games, films, and multimedia projects under an active Adobe ID. You can sell games on Steam, the Epic Games Store, and mobile app stores without paying royalties or licensing fees. You only need to ensure you do not redistribute the raw FBX animation files as standalone stock assets on 3D model marketplaces.
Why does the auto-rigger distort character fingers during processing?
Finger distortion occurs when fingers are modeled too close together or when hand guide markers sit off-axis. The volumetric heat-weighting algorithm requires negative space between digits to distinguish separate bone segments. If fingers touch or curl inward in your source mesh, switch to the 2-finger or fingerless skeleton preset, or separate the fingers in your 3D modeling tool before re-uploading.
How do you import root motion animations into Unreal Engine?
Import the animation FBX onto your existing character skeleton and check the EnableRootMotion checkbox inside the Animation Sequence editor. Unreal Engine automatically extracts coordinate translation from the skeleton’s root hip bone and applies it directly to the character controller capsule. This setup ensures your character moves physically across game environments without experiencing foot sliding or visual hitching.
Can the automatic rigging engine rig quadruped animals or fantasy creatures?
No, the auto-rigging solver exclusively supports bipedal humanoid skeletal proportions with standard limbs and a head. Animals, quadrupeds, winged monsters, and mechanical vehicles cannot be parsed by the five-point landmark solver. For four-legged creatures or non-human characters, use dedicated rigging toolsets like Blender’s Rigify or dedicated quadruped plugins.
What is the difference between downloading With Skin versus Without Skin?
Downloading With Skin includes the 3D character mesh and textures, while Without Skin exports only skeletal animation keyframe tracks. You should download your base character once With Skin to establish your primary visual asset. For every subsequent motion clip, download Without Skin to conserve bandwidth, minimize storage overhead, and streamline your asset management pipeline.
Does Adobe plan to discontinue or monetize the rigging service in the future?
Adobe continues to maintain the service as a foundational entry portal for Creative Cloud 3D tools without announcing retirement plans. The platform remains actively utilized across digital production schools, independent studios, and enterprise previs workflows. While community rumors occasionally suggest feature overhauls, the platform continues to operate smoothly as a zero-cost cloud asset repository.
Start Rigging Your Characters Today
Transforming a static digital sculpt into a dynamic, living character no longer demands months of tedious technical setup. By combining automatic skeletal generation with an expansive repository of motion capture performances, modern artists can bring complex game worlds and cinematic visions to life in record time. Export your favorite humanoid 3D model from your modeling software, upload the geometry to the cloud rigging engine, and watch your creative vision spring into motion today.