The Short Answer: Do Whitening Trays Work?
The Short Answer: Do Whitening Trays Work?
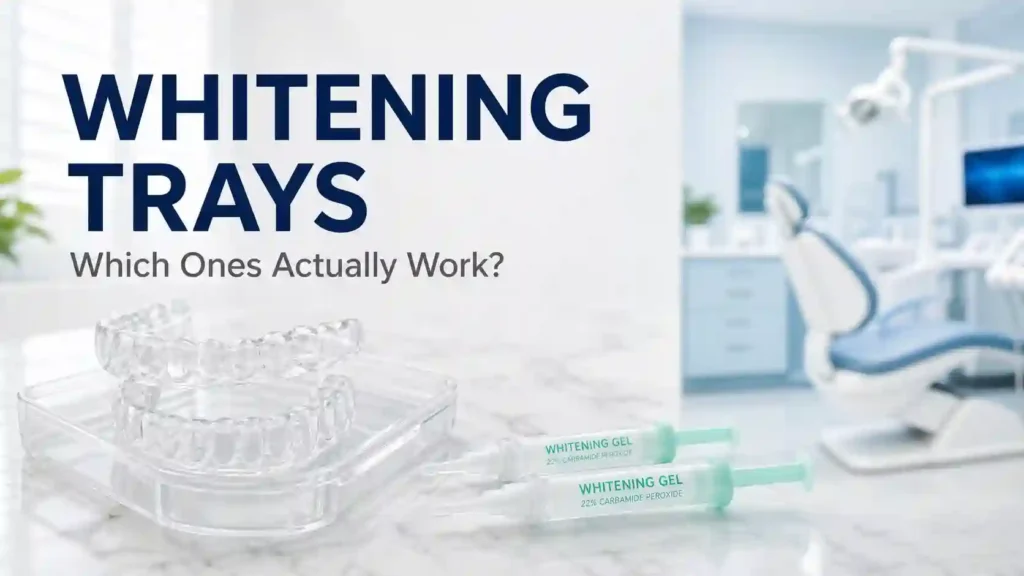
Yes. Whitening trays work when they hold a peroxide gel against clean enamel long enough for the colour to change. The Cochrane review of 71 trials and 3,780 adults found tray-delivered carbamide peroxide whitened teeth better than a placebo gel, most often at 10% strength worn daily for two weeks. The same review reported tooth sensitivity and mild gum irritation as the top side effects — real, but temporary.
Fit matters more than strength. A tray that seals the gel onto every tooth surface beats a stronger gel in a tray that leaks.
What Are Whitening Trays and How Do They Whiten Teeth?
A whitening tray is a thin, flexible shell that carries bleaching gel over your teeth and holds it there for a set time. Dentists call the method tray bleaching or nightguard vital bleaching, and it has been the standard at-home whitening route for more than three decades.
The chemistry is simple. Peroxide breaks into oxygen molecules that travel through the porous enamel and dismantle the long-chain stain molecules trapped in the dentine below. Shorter molecules reflect more light, so the tooth reads lighter to the eye. Nothing is scraped off and nothing is painted on.
Two active ingredients do this work:
- Carbamide peroxide — releases hydrogen peroxide slowly and stays active for around six hours, which makes it the natural pick for overnight trays.
- Hydrogen peroxide — works fast, peaks inside 30 to 60 minutes, and suits short daytime wear.
The conversion rule is worth memorising: carbamide peroxide is roughly one third the strength of hydrogen peroxide. A 10% carbamide peroxide gel releases about 3.5% hydrogen peroxide.
Trays also win on coverage. Strips reach the six front teeth. A tray reaches every tooth you load it with, including the molars that show when you laugh.
The 4 Types of Whitening Trays: Custom, Prefilled, Boil-and-Bite, LED
Choosing between tray styles comes down to three things: how well it fits, how much gel you control, and what you pay over two years.
1. Custom trays from a dentist
The dentist takes a mould or an intraoral scan, a lab presses a rigid tray to your exact arch, and you get refillable gel syringes. Margins sit flush at the gum line, so gel stays on the tooth instead of the tissue. This is the option that produces the most even shade change and the longest service life.
2. Prefilled disposable trays
Brands such as Opalescence Go ship a one-size tray already loaded with gel. You bite in, wear it for 15 to 30 minutes, and toss it. Zero mess and no lab visit, but the fit is generic, so leakage onto the gums is common and the cost per session stays high.
3. Boil-and-bite trays
You soften a thermoplastic blank in hot water, bite into it, and suck the edges tight. Better than a flat strip, worse than a lab-made tray. Expect uneven thickness, a bulky feel, and warping after a few months.
4. LED tray kits
These pair a tray with a blue light. Research on light activation is thin and inconsistent, and the tray plus gel does the actual work. Treat the light as marketing unless a dentist recommends a specific protocol.
Rule of thumb: buy the fit, then buy the gel. You can change gel strength mid-course; you cannot change a bad fit.
Which Gel Strength Should You Use?
Start low and only go up if your teeth stay comfortable and you want faster movement. Dentists dispense take-home gels between 10% and 22% carbamide peroxide for most patients.
| Gel strength | Rough HP equivalent | Typical wear time | Best for | Sensitivity risk |
|---|---|---|---|---|
| 10% carbamide peroxide | ~3.5% | 4–8 hours or overnight | First-timers, sensitive teeth, receded gums | Low |
| 16% carbamide peroxide | ~5.3% | 2–4 hours | Standard course, coffee and tea stains | Low to moderate |
| 22% carbamide peroxide | ~7.3% | 1–2 hours | Faster results, thick healthy enamel | Moderate |
| 35% carbamide peroxide | ~11.6% | 30–60 minutes | Dentist-supervised take-home only | High |
| 6% hydrogen peroxide gel | 6% | 30–60 minutes | Short daytime wear, EU dental ceiling | Moderate |
Two extra ingredients change the experience:
- Potassium nitrate or fluoride in the gel lowers sensitivity. Cochrane reported significantly less sensitivity in the trays that contained a desensitiser.
- Neutral pH gels are gentler on enamel than acidic formulas.
Regulations differ by country, so read the label rather than the advert. Under EU Regulation (EC) No 1223/2009, products above 0.1% hydrogen peroxide up to 6% may only be supplied through a dental practitioner, with the first use of each cycle carried out by a dentist or under direct supervision, and never for anyone under 18. Above 6% is not permitted for cosmetic whitening at all. In the United States, over-the-counter tray gels commonly run 10% carbamide peroxide.
How Long Do You Wear Whitening Trays Each Day?
Match the clock to the concentration, not to your ambition.
- 10% carbamide peroxide: overnight, or 4 to 8 hours during the day.
- 16% carbamide peroxide: 2 to 4 hours.
- 22% to 35% carbamide peroxide: 30 to 90 minutes, once or twice a day.
- Course length: 10 to 14 days for most people, up to 3 weeks for heavier staining.
Consistency beats intensity. Fourteen straight nights at 10% outperforms three marathon sessions at 22%, and it costs you far less discomfort. If sensitivity shows up, drop the wear time by half before you drop the treatment.
Remove the trays, rinse, and give your teeth 30 minutes before any coloured drink. Freshly bleached enamel picks up pigment more readily in that window.
Are Whitening Trays Safe? Sensitivity, Gum Burn, and Enamel
The honest picture: whitening trays are safe for healthy adult teeth when a dental professional sets the gel strength and checks your mouth first. The two side effects you may meet are transient.
Tooth sensitivity. Usually a sharp zing in the first two or three nights that fades as the course continues. It happens because the dentinal tubules become temporarily more permeable.
Gum irritation. Almost always a fit or dosage problem. Gel sitting on soft tissue blanches it and stings, and the whitening of gum edges clears within hours.
What to do about it:
- Switch to a desensitising toothpaste with potassium nitrate or stannous fluoride, and start it five days before your first tray night.
- Cut wear time in half, or move to every other night.
- Wipe away any gel that squeezes onto your gums with a clean finger or cotton bud.
- Load a small amount of desensitising gel into the tray for 10 to 15 minutes on your rest nights.
- Skip very cold drinks during the course.
Stop and call a dentist if pain is throbbing, lasts beyond 48 hours after you pause, or sits in one specific tooth. That pattern points to a cracked tooth or an inflamed pulp, not ordinary bleaching sensitivity.
Enamel does not dissolve at these concentrations when you follow the schedule. The real enamel threats are acidic DIY recipes — lemon juice, baking soda scrubs, straight drugstore peroxide rinses — and trays worn far past their instructions.
What Results Can You Expect and How Fast?
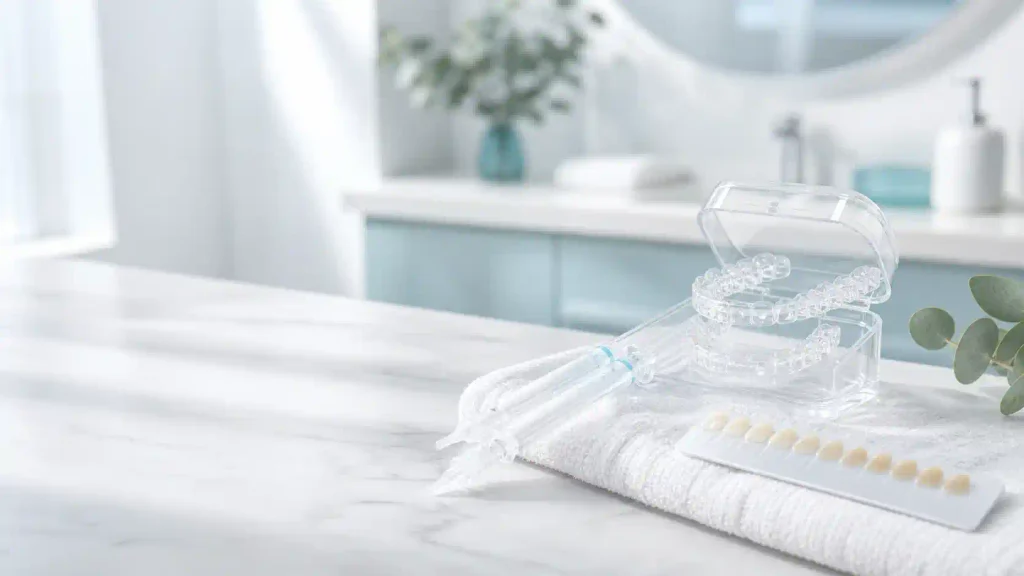
Set your expectation on shade tabs, not on filtered photos.
- Days 1 to 3: little visible change. Teeth may look briefly whiter straight after a session because of temporary dehydration, then settle.
- Days 4 to 7: the first real lift, usually one shade on a dental shade guide.
- Days 8 to 14: most people land two to three shades lighter.
- Weeks 3 to 4: heavier staining, often from tobacco or long-term coffee, keeps moving.
Photograph your progress in the same natural light, at the same time of day, with the same camera distance. Mirror checks under warm bathroom lighting will mislead you.
Whitening trays will not change the colour of crowns, veneers, bonding or fillings. Only natural tooth structure responds. If you have a front-tooth restoration, plan the whitening first and the restoration second, or accept a colour mismatch.
Results hold for six months to two years. Maintenance means one or two tray nights every three to six months, plus cutting back on the drinks that restain you.
Whitening Trays vs Strips vs LED Kits vs In-Office: Full Comparison
This is the table that settles most buying decisions.
| Method | Typical cost | Daily time | Course length | Shade change | Coverage | Longevity | Biggest drawback |
|---|---|---|---|---|---|---|---|
| Custom whitening trays (dentist) | $300–$600 / £250–£500, refills $30–$60 | 30 min–8 hrs | 10–21 days | 2–5 shades | All teeth | 1–2 years with touch-ups | Upfront cost and a lab visit |
| Prefilled disposable trays | $40–$120 per box | 15–30 min | 10–14 days | 1–3 shades | All teeth, loose fit | 6–12 months | Expensive per session, gum leakage |
| Boil-and-bite trays | $15–$35 | 30 min–8 hrs | 14–21 days | 1–3 shades | All teeth, uneven | 3–6 months | Warps, bulky, poor seal |
| Whitening strips | $20–$60 | 30–60 min | 10–20 days | 1–3 shades | Front 6–8 teeth | 4–8 months | Misses side teeth, slips, uneven edges |
| Whitening pens | $10–$25 | 1–2 min | Daily touch-up | Under 1 shade | Spot treatment | 1–3 months | Saliva washes the gel off quickly |
| LED tray kits | $30–$150 | 10–30 min | 7–14 days | 1–3 shades | All teeth | 6–12 months | Weak evidence for the light itself |
| In-office power bleaching | $400–$1,000 per visit | 60–90 min | 1 appointment | 4–8 shades | All teeth | 1–3 years | Cost, higher sensitivity spike |
| Whitening toothpaste | $4–$15 | 2 min, twice daily | Ongoing | Surface only | All teeth | None | Abrasives only, no peroxide lift |
Two ways to read this table. If you want the lowest cost per shade over two years, custom trays win because refills are cheap. If you want one dramatic change before a wedding, in-office bleaching wins and trays then maintain it.
What Do They Cost?
Budget across two years, not across one purchase.
- Dentist-made custom trays: $300 to $600 in the US, £250 to £500 in the UK, including the exam, the trays and your first set of gel syringes.
- Refill gel: $30 to $60 per two-syringe set, enough for two or three top-up courses.
- Prefilled trays: $40 to $120 per box, and you rebuy the box every time.
- Over-the-counter boil-and-bite kits: $15 to $35, with gel refills around $10 to $20.
The maths flips after the second year. A custom tray owner spends roughly $60 a year on gel. A disposable tray user spends $120 to $240 for the same shade maintenance.
One caution on cheap online kits: if a product sold directly to you claims a high peroxide level in a country that caps consumer sales at 0.1%, it is not compliant, and nobody has checked what else is in the syringe. Regulators in the EU have detained thousands of such units in a single year.
How to Clean and Store Your Trays So They Last
Care takes sixty seconds and doubles the life of the tray.
- Rinse the tray under cool water the moment you take it out. Never hot — heat warps the plastic and ruins the fit.
- Brush it gently with a soft toothbrush and a drop of mild, unscented soap. Skip toothpaste, which is abrasive enough to scratch the surface and trap bacteria.
- Once a week, soak for 10 to 15 minutes in water with a denture cleaning tablet, then rinse thoroughly.
- Air dry completely before storage, and keep the tray in its ventilated case — never in a sealed bag or wrapped in tissue where a pet or a bin can claim it.
- Keep it away from direct sunlight and from coloured mouthwash, which stains the plastic.
Replace a tray when it cracks, loses its snap fit, or develops a permanent smell. Lab-made trays usually run two to five years. Boil-and-bite trays last six to eighteen months.
Who Should Not Use Whitening Trays
Tray whitening is not for everyone, and the exclusions are firm.
- Anyone under 18. Cosmetic bleaching above 0.1% hydrogen peroxide is restricted to adults in the EU and UK, and most dentists apply the same age line everywhere.
- Pregnant or breastfeeding patients. There is no good safety data, so dentists postpone.
- Active decay, leaking fillings, cracked teeth or gum disease. Peroxide entering a cavity reaches the pulp directly and hurts. Get treated first, whiten second.
- Heavy gum recession or exposed roots. Root surfaces have no enamel, absorb gel fast, and turn very sensitive.
- Front-tooth crowns, veneers or bonding. The restoration will not lighten, so the shade will not match.
- Uncontrolled sensitivity or a history of pulpitis. A dentist may choose an in-office protocol with protective barriers instead.
A five-minute exam before your first tray catches all of these. Skipping it is the single most expensive mistake in home whitening.
10 Mistakes That Ruin Your Whitening Tray Results
I have watched patients lose two weeks of progress to one of these errors.
- Overfilling the tray. A rice-grain of gel per front tooth is plenty. More gel does not whiten faster; it burns gums.
- Not brushing and flossing first. Plaque blocks the gel from reaching enamel.
- Skipping days then doubling up. Bleaching is cumulative and gentle, not bingeable.
- Wearing a tray overnight with a high-strength gel. Save overnight wear for 10% to 16% carbamide peroxide.
- Drinking coffee, tea or red wine in the first 30 minutes after a session. Newly bleached enamel stains readily in that window.
- Using a worn or warped tray. A loose fit spreads gel onto tissue and thins it on teeth.
- Whitening before dental work. Get the shade settled, then match the crown or filling to it.
- Ignoring one-tooth pain. That is a signal to stop, not to push through.
- Expecting veneers to lighten. They will not.
- Buying an unlabelled gel online. If the label does not state the peroxide concentration and the supplier, put it back.
Your First 14 Days With Whitening Trays: A Step-by-Step Plan
Here is the exact schedule I hand to patients in my clinic.
- Day 0 — Exam and shade reading. The dentist checks for decay, gum health and existing restorations, records your starting shade with a guide, and photographs your smile.
- Day 0 — Impression or scan. Either a putty mould or a digital intraoral scan goes to the lab.
- Day 5 to 7 — Tray fitting. The dentist trims the margins, confirms the snap fit, and demonstrates how to load the gel. You leave with syringes and a written schedule.
- Day 7 to 20 — Daily wear. Load a small bead of gel on each tooth surface, seat the tray, wipe away overflow, and wear for your prescribed window.
- Day 10 — Mid-course check-in. Compare photos. If sensitivity appeared, shorten wear time now.
- Day 14 to 21 — Final shade reading. Stop, then wait 48 hours for the dehydrated look to settle before judging the result.
- Ongoing — Maintenance. One or two tray nights every three to six months, and a refill syringe when you run low.
Keep the trays even after you finish. They are the cheapest part of the whole investment and they make every future touch-up cost gel money only.
Frequently Asked Questions About Whitening Trays
How long should I wear whitening trays each day?
Match the gel to the clock. Wear 10% carbamide peroxide overnight or for four to eight hours, 16% for two to four hours, and 22% or higher for 30 to 90 minutes. Run the course for 10 to 14 days. Longer wear does not speed up whitening; it only raises sensitivity.
Do whitening trays really work better than strips?
They usually do, because a tray covers every tooth and holds the gel against the full surface. Strips only reach the front teeth, slip while you talk, and leave the gumline and side teeth behind. Cochrane’s review found tray-delivered carbamide peroxide whitened teeth better than placebo, with 10% strength the most studied.
Are these trays safe for enamel?
Yes, at dental concentrations and on the prescribed schedule. Peroxide breaks down stain molecules inside the tooth without dissolving the enamel surface. The damage comes from acidic DIY mixes, gritty scrubs and trays worn hours past their instructions.
My teeth feel sensitive with whitening trays. What should I do?
Cut the wear time in half, or whiten every other night. Use a potassium nitrate or stannous fluoride toothpaste for two weeks, and choose a gel that already contains a desensitiser. Stop and see a dentist if pain lasts more than 48 hours after you pause or stays in one tooth.
Can I use trays if I have crowns, veneers or braces?
Peroxide only lightens natural enamel and dentine, so crowns, veneers and fillings will stay the same colour and may end up looking darker. Whitening during braces leaves pale rectangles where the brackets sat. Finish orthodontic treatment, whiten, then plan any restorative work to match the new shade.
How long do whitening trays last, and how often can I rewhiten?
Lab-made custom trays last two to five years with cool-water rinsing and case storage; boil-and-bite trays last six to eighteen months. Most people need a top-up course of one or two nights every three to six months, and dentists advise against back-to-back full courses.
Get Your Shade Right Before You Spend Another Penny
Whitening trays reward patience and punish guesswork. Pick the fit first, choose a low-to-moderate gel, wear it on schedule, and photograph your progress instead of trusting the bathroom mirror.
Book a whitening exam this week. Ask your dentist for a shade reading, a tray that matches your arch, and a written wear schedule you can actually follow. Then keep those trays in your drawer — the next brightening session will cost you the price of one gel syringe.
Your smile is the one accessory you wear in every photograph. Make it the version you like looking at.